What to Expect From a Residential Asphalt Paving Contractor
Choosing the right residential asphalt paving contractor in Worcester, MA, sets the tone for how your driveway or walkway will look, perform, and last. With Patriot Paving, homeowners can expect a guided process that blends experience with craftsmanship—built for New England weather and tailored to the character of your property. This article walks you through what happens from the first conversation to the final roll of the compactor, so you know exactly how a well-run project unfolds and what you’ll need to do to protect your new pavement for years.
Initial Consultation and Site Assessment With a Residential Asphalt Paving Contractor
Before a paving crew brings in equipment or lays a single ton of asphalt, a thoughtful assessment ensures the work is well-planned and the finished surface fits your goals.
A typical consultation starts with a walkthrough of your property. The contractor will look at driveway layout, traffic patterns, slope, drainage, sunlight exposure, and how the pavement ties into your garage, walkway, or street. They’ll note any trouble areas—like pooling water, alligator cracking, potholes, crumbling edges, or heaving from freeze-thaw cycles. Worcester, MA’s seasonal temperature swings and snow loads are tough on pavement, so planning for proper drainage and base strength is essential.
Expect a conversation about your goals with your residential asphalt paving contractor: Do you want a wider turnaround? A cleaner edge for landscaping? A smoother path for kids’ bikes or a snowblower? The contractor will take measurements, discuss thicknesses for the base and asphalt lift(s), and review options for edging and transitions. You should also hear a clear explanation of the timeline, from site prep to curing, and how weather can impact scheduling.
If your existing driveway can be resurfaced, the contractor will outline the pros and cons of overlay versus full-depth replacement. If the base is compromised, they’ll recommend rebuilding it correctly instead of simply covering problems with new asphalt. A transparent estimate should break down the scope—prep, base installation, asphalt application, compaction, and finishing details—so you know what’s included and what isn’t.
Preparation and Materials That Stand Up to New England Weather
Great paving projects are won or lost in the preparation stage. The goal is a stable, well-drained foundation that won’t shift or settle under vehicles or during freeze-thaw cycles.
- Demolition and Excavation: If you have an old driveway that’s beyond resurfacing, crews will remove the existing asphalt and any unstable base material. Depth of excavation depends on soil conditions and final design thickness. For new installations, the team will excavate to the required depth, shaping the subgrade to promote proper water runoff.
- Subgrade Shaping and Compaction: The subgrade (the soil beneath the base) must be uniformly compacted to reduce future settling. In Worcester, MA’s varied soils, compaction helps resist frost heave and protects against ruts.
- Base Installation: A strong, well-graded aggregate base (often 3/4-inch crushed stone with fines) is installed in layers, each compacted thoroughly. The thickness of the base is based on soil type, expected load, and drainage needs. Driveways typically require several inches of base to ensure stability.
- Drainage Solutions: Water is asphalt’s biggest enemy. Your residential asphalt paving contractor should contour the surface to route water away from the house, garage, and pavement edges. In some cases, French drains or swales might be recommended. If the driveway meets the street at a low point, the plan might include strategic grading to avoid puddling at the apron.
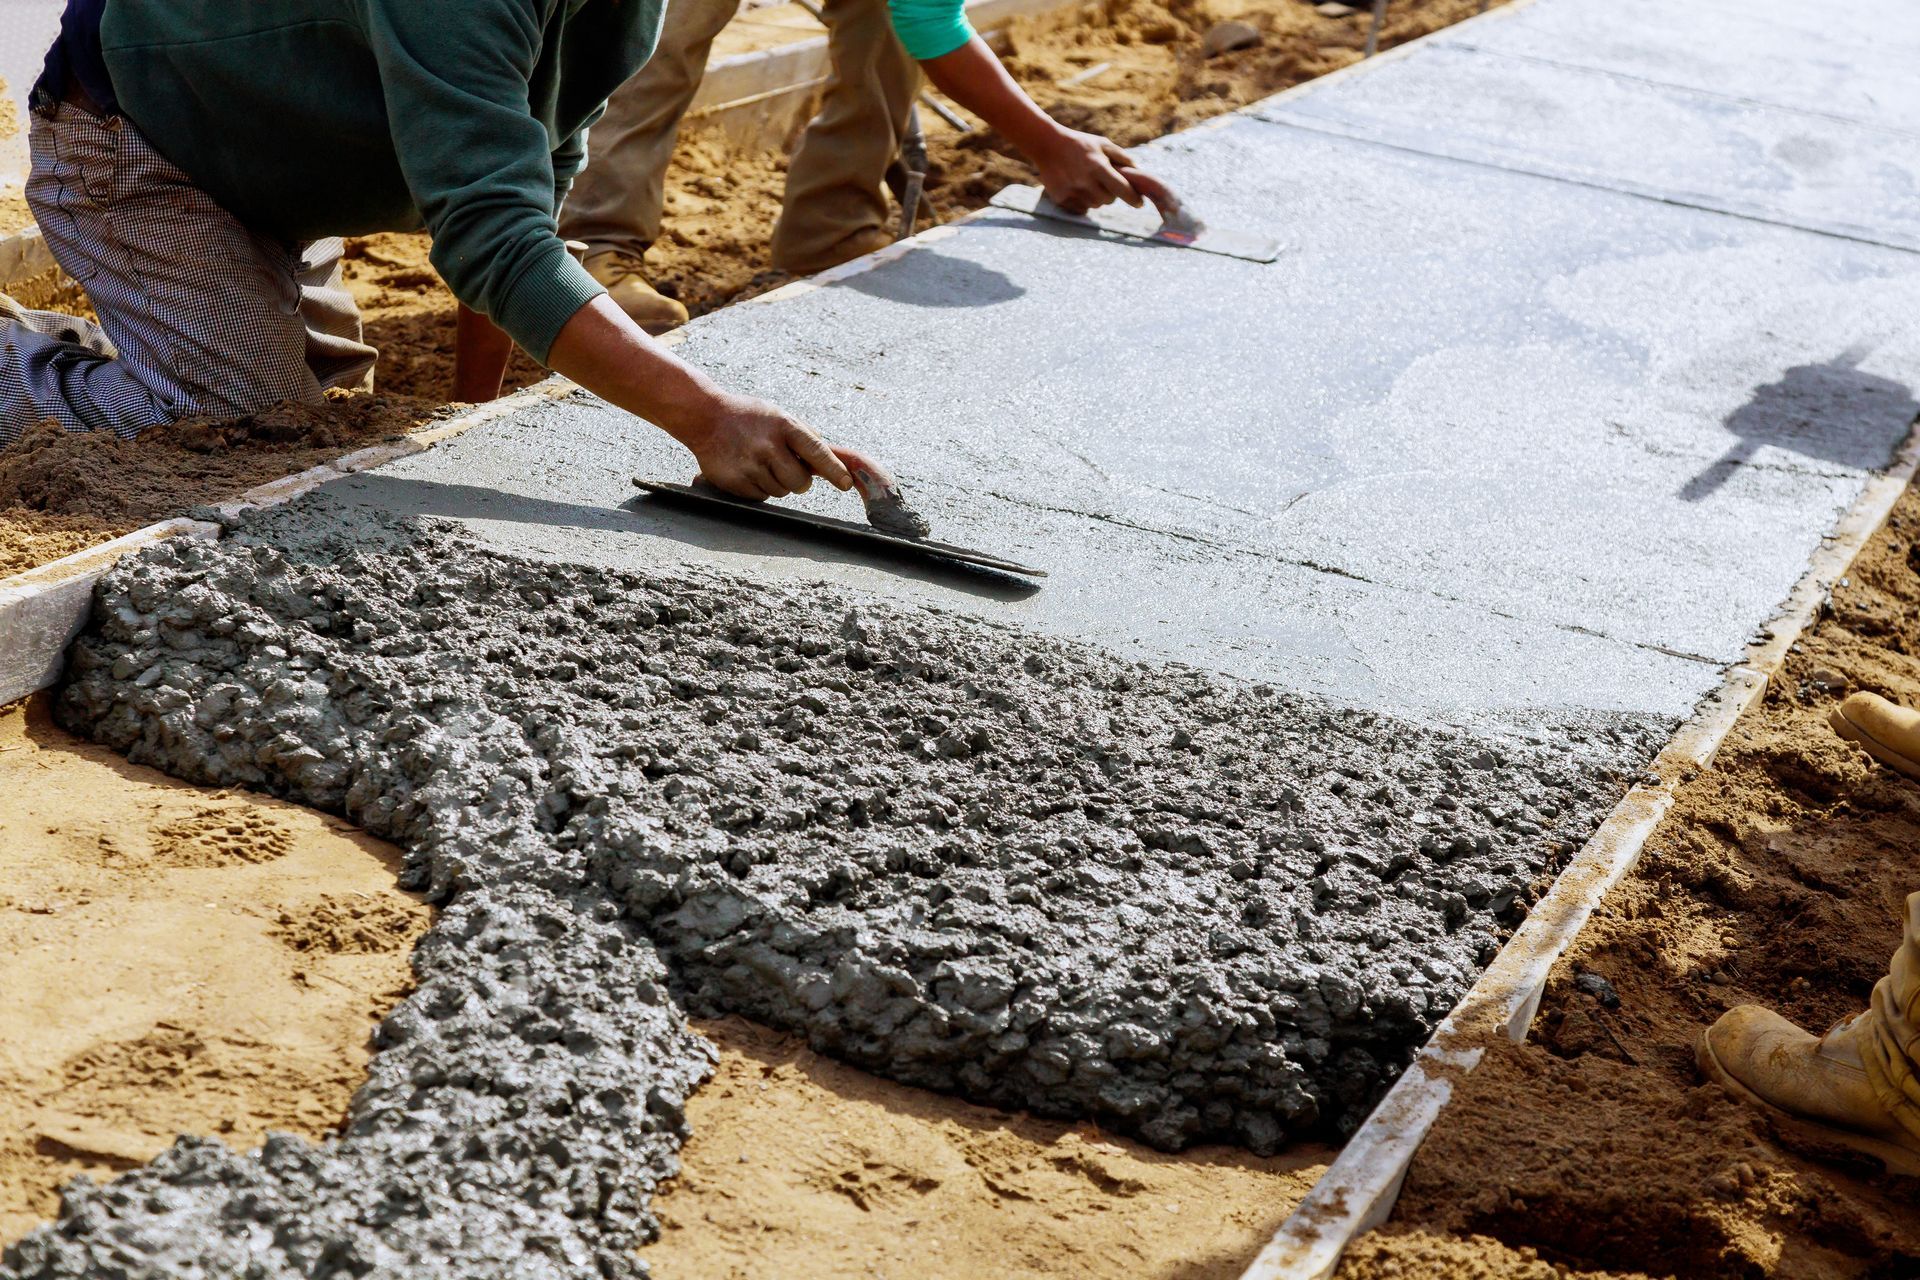
- Material Selection: Not all asphalt mixes are identical. For residential paving work, contractors often choose a dense-graded hot mix that balances durability with a smooth finish. The right mix design—paired with the proper lift thickness—helps your driveway resist cracking, raveling, and rutting. In colder climates, mixes that handle thermal expansion and contraction are important.
The Asphalt Installation Process: From First Lift to Finish
Once the foundation is ready, the asphalt goes down systematically to achieve a smooth, long-lasting surface.
- Tack Coat (As Needed): If a portion of existing asphalt remains or multiple lifts are planned, a tack coat may be applied to promote a strong bond between layers.
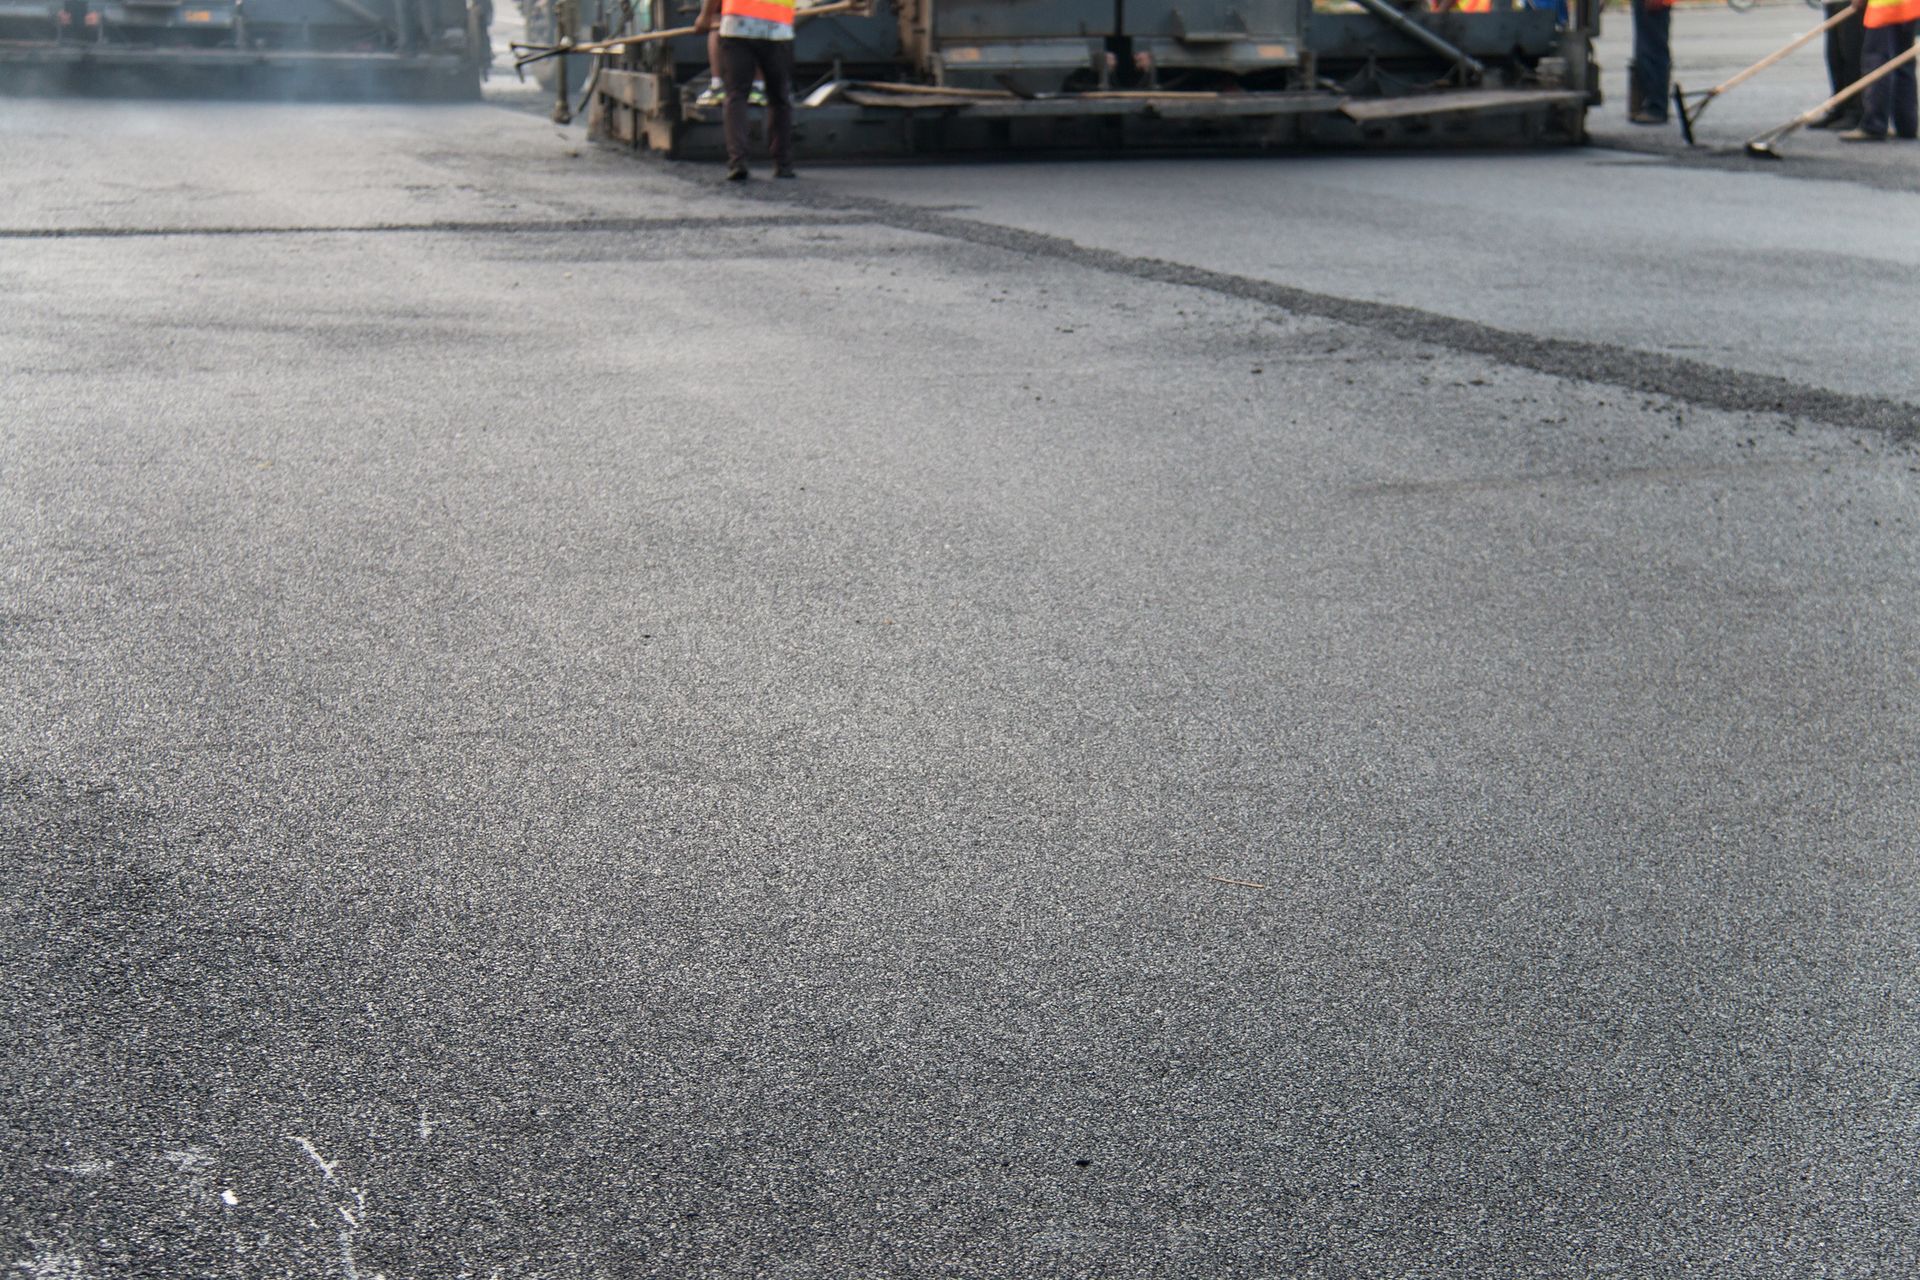
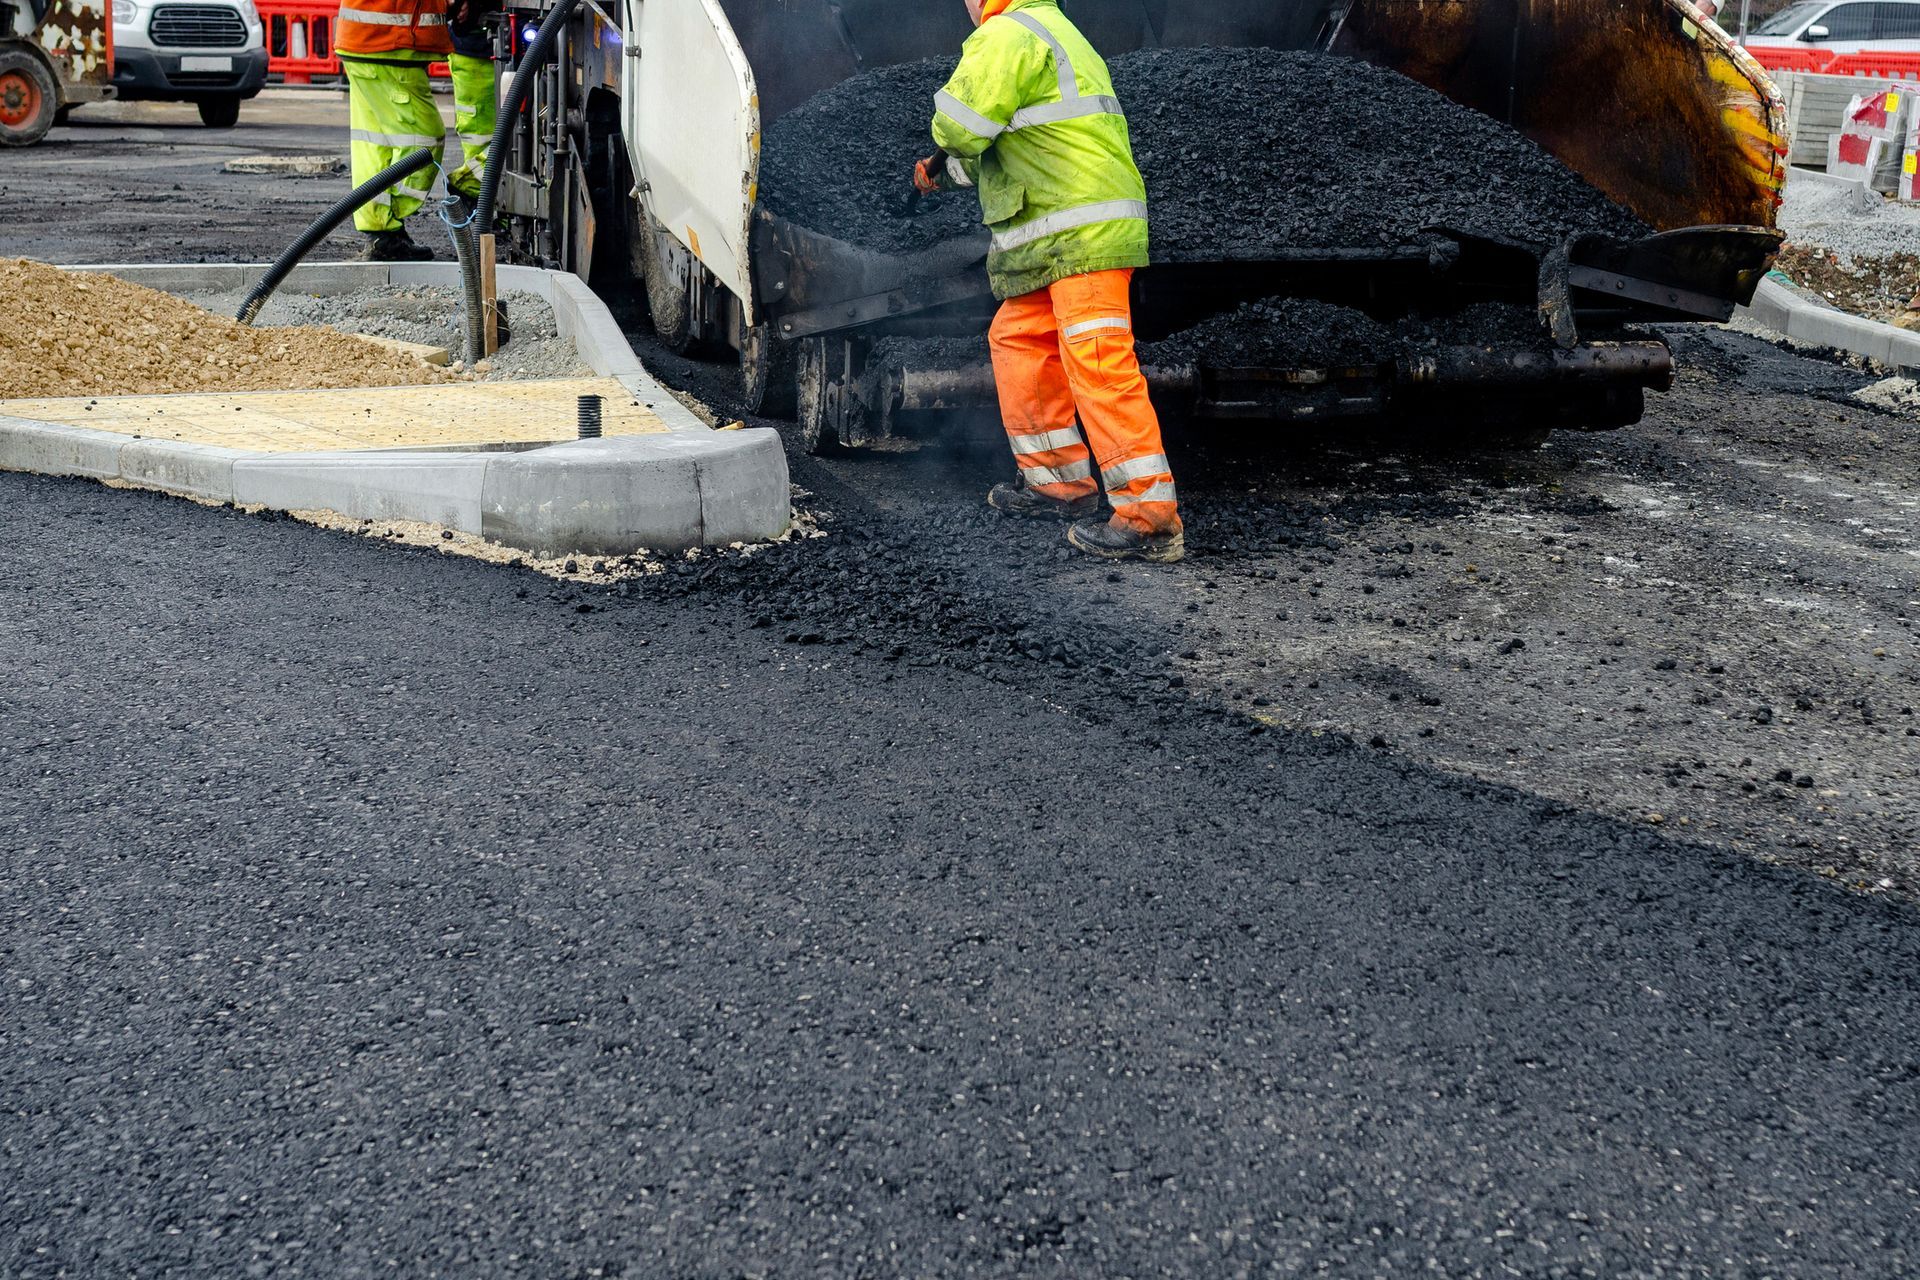
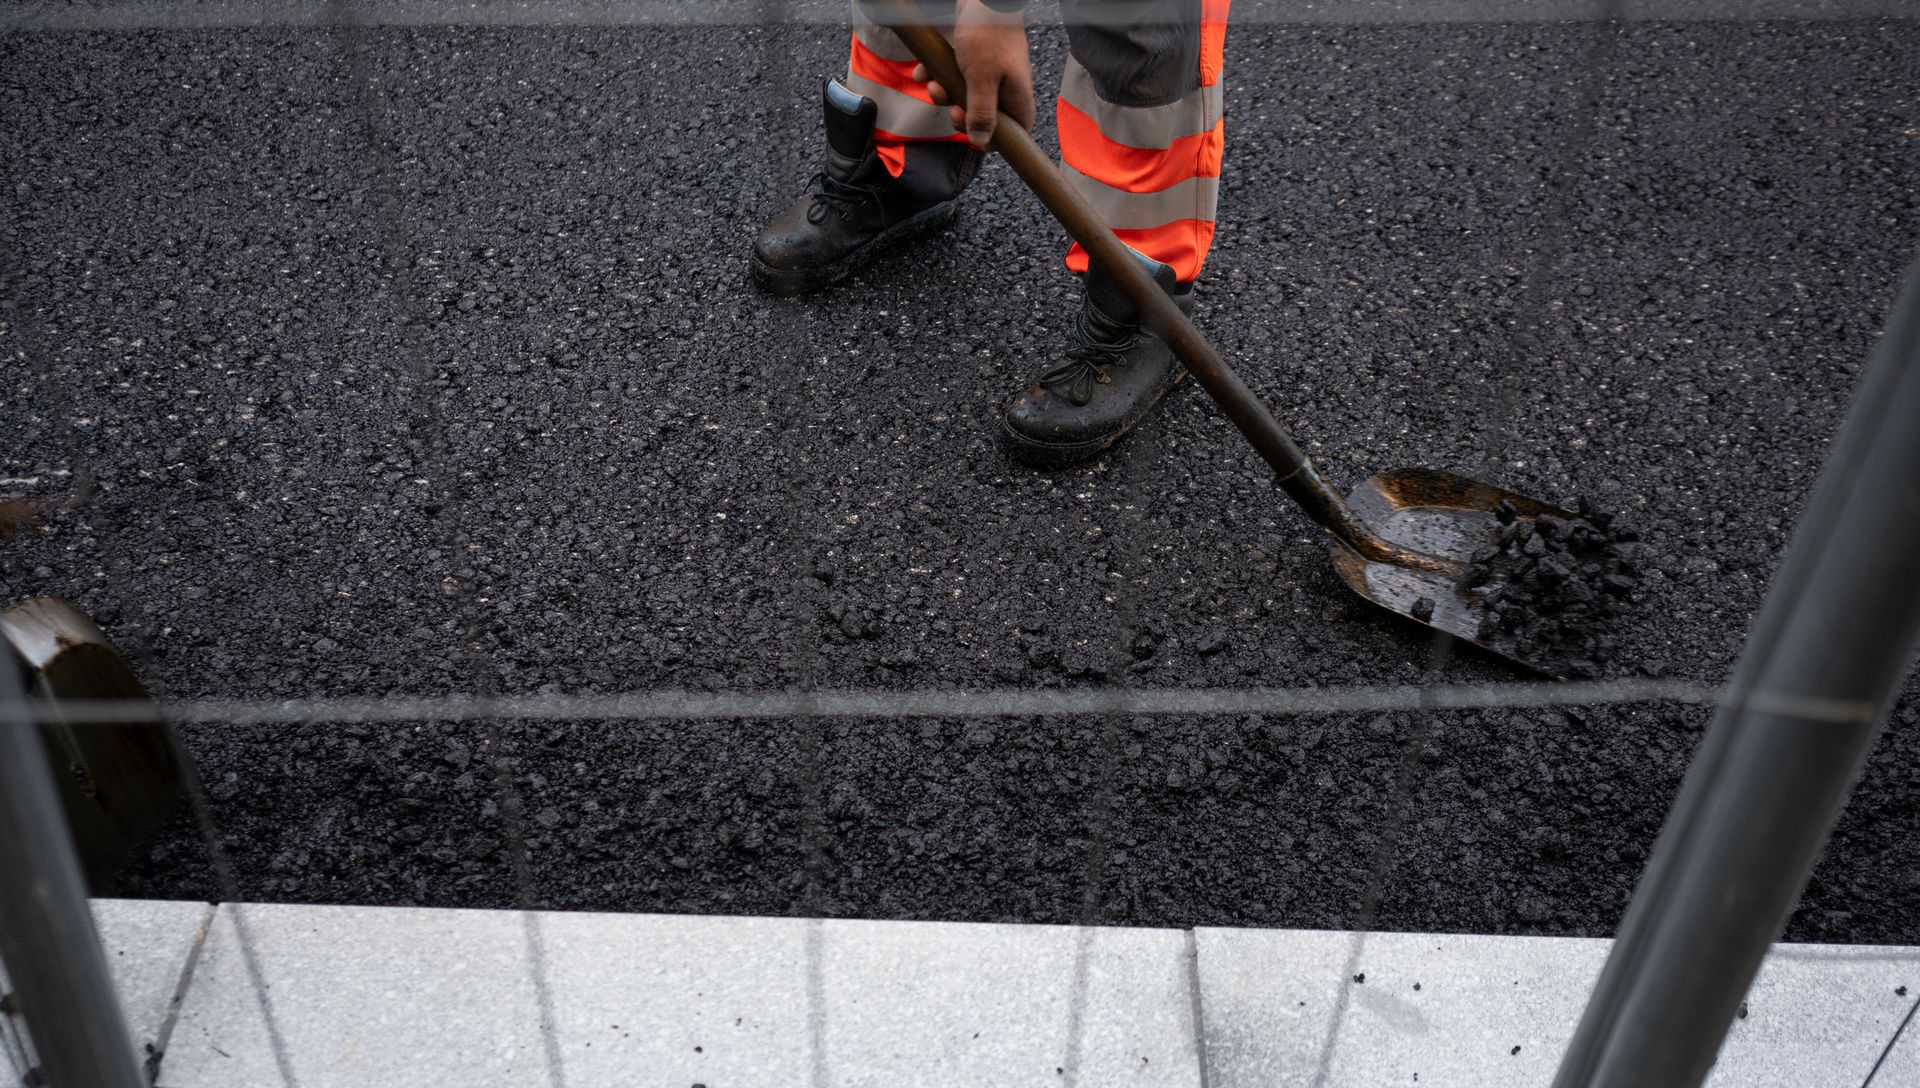
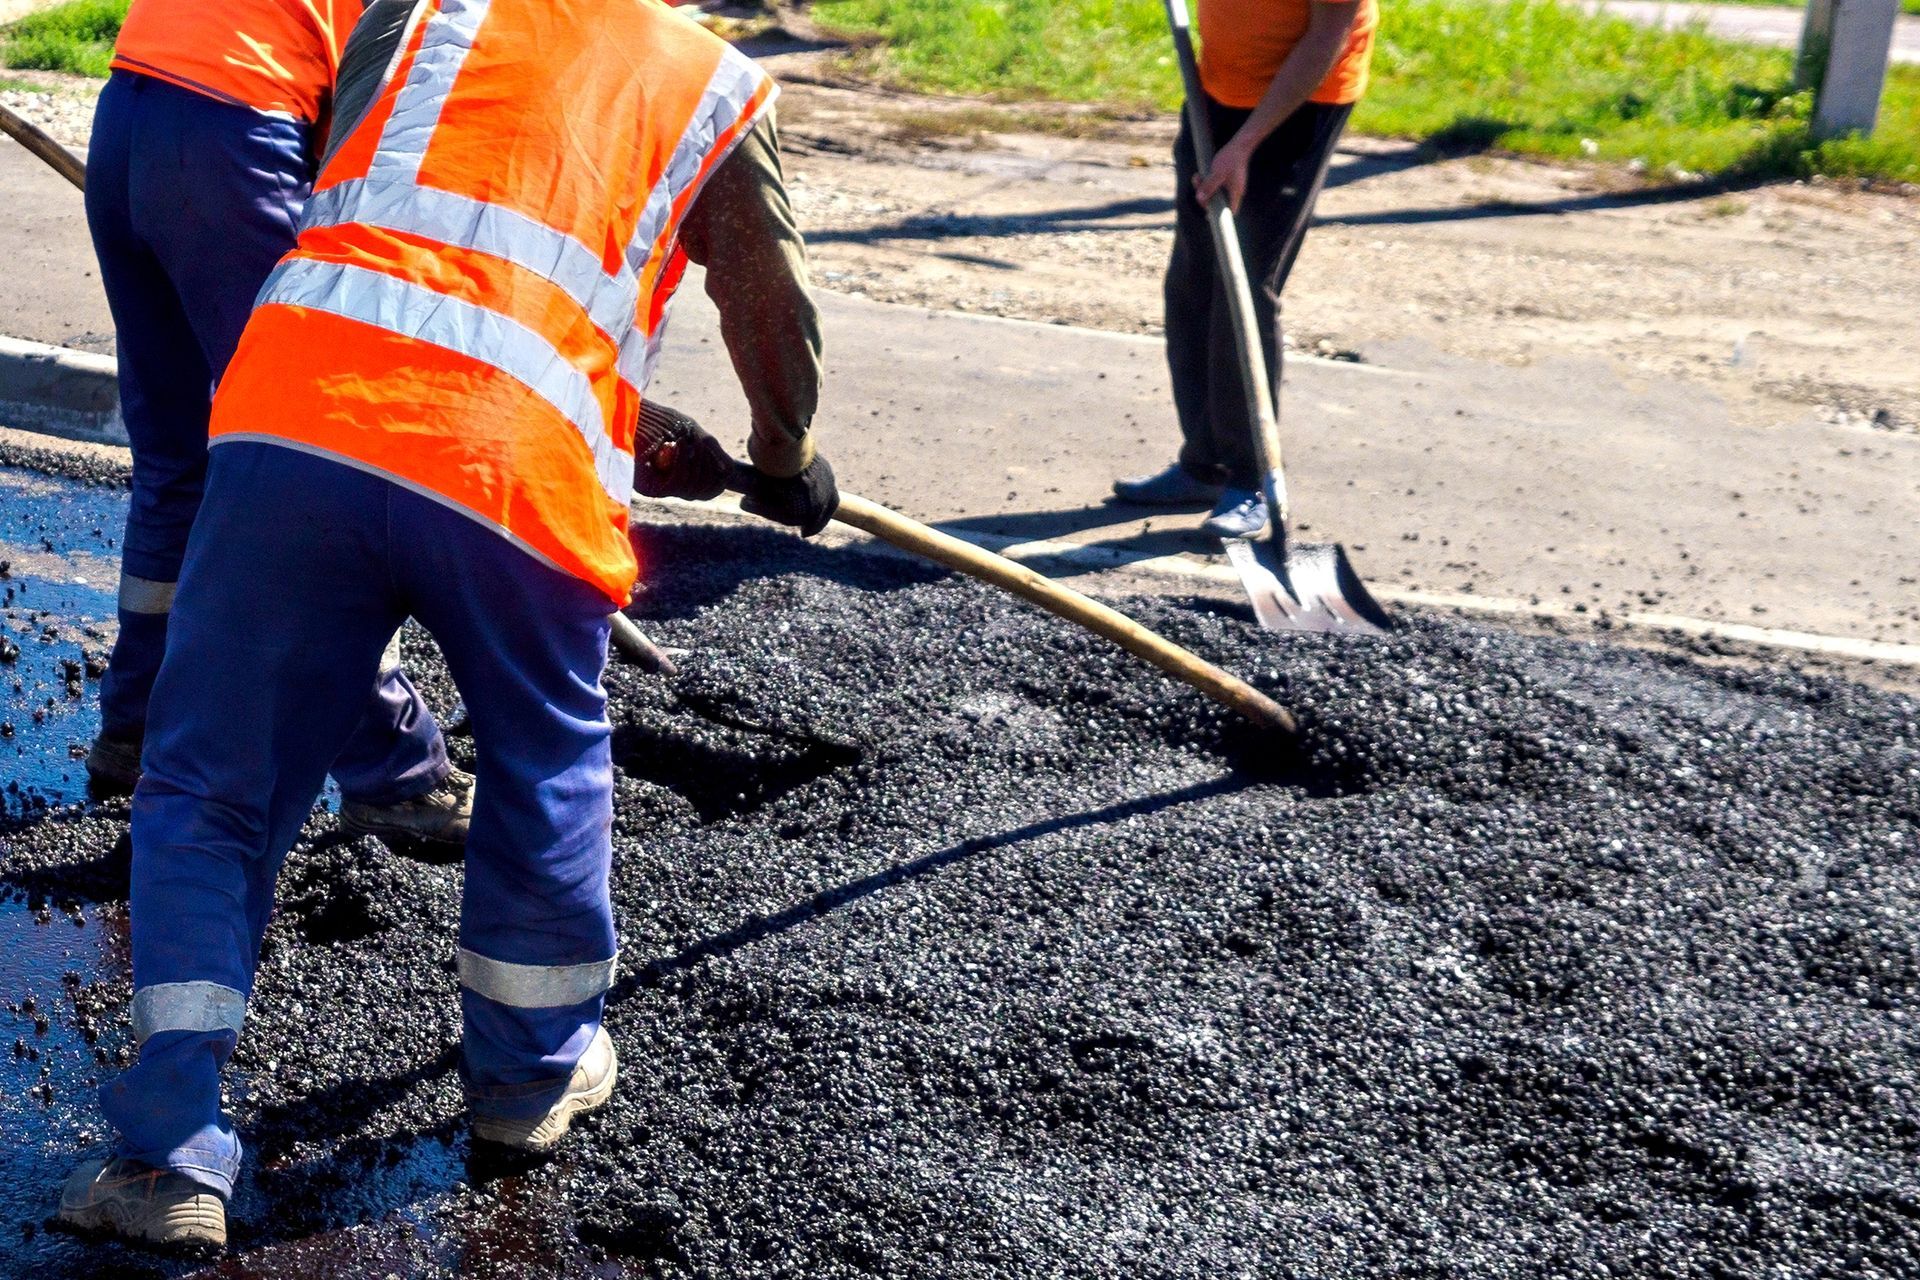
- Placing the Asphalt: The residential asphalt paving contractor crew will deliver hot mix asphalt at the right temperature for workability and compaction. It’s spread with a paver for consistent thickness and elevation. Edges are carefully set to achieve clean lines along walkways, lawns, or curbing.
- Establishing Proper Slope: Subtle grading is built into the asphalt layer so water drains off the surface. Your contractor will check elevations frequently and make adjustments to avoid low spots.
- Compaction: Multiple passes with a steel drum and (where needed) vibratory rollers lock the aggregate together, reduce air voids, and deliver a dense, durable mat. Good compaction is the heart of long-lasting pavement—it increases strength and helps keep moisture out.
- Seam Management and Joints: Where two lanes meet or handwork is required near tight spaces, seams are carefully finished and compacted to maintain a uniform appearance and performance. Clean, well-compacted joints reduce the chance of separation or premature cracking.
- Transitions and Edges: At the garage door, apron, or sidewalk, the crew creates smooth transitions that won’t snag shovels or snowblowers. Edges may be hand-tooled to reduce cracking and provide a crisp profile for landscaping.
- Final Roll and Quality Check: The project wraps with a final compaction pass and inspection by your residential asphalt paving contractor. The surface should look consistent, with a tight texture and proper slope. Any stray marks or loose edges are addressed before the crew departs.
Curing and Post-Installation Care for a Long-Lasting Driveway
Fresh asphalt needs time to set up and strengthen. A little patience and the right habits will extend the life and look of your new driveway.
- Initial Cure Window: You can typically walk on new asphalt soon after compaction, but vehicle traffic should wait per your contractor’s guidance—often 24 to 72 hours depending on weather. During hot spells, the surface may remain more pliable; avoid tight turns or parking in one spot for too long in the first few weeks.
- Protecting the Surface: Keep heavy equipment, trailers with kickstands, and sharp objects off the new pavement during early curing. Place plywood under motorcycle kickstands and use wider blocks under parked trailers to distribute weight.
- Routine Maintenance: Sweeping away debris, promptly removing oil or gasoline spills, and clearing standing water will protect the asphalt. Oil and fuel can soften the surface over time; a gentle detergent and water rinse usually handle small drips.
- Sealcoating Timing: Sealcoating is a protective top layer, not a cure shortcut. Most residential asphalt paving contractors recommend waiting 6 to 12 months before the first sealcoat, allowing the asphalt to fully cure and release oils. After that, reseal every few years based on traffic, weather exposure, and appearance. Sealcoat helps guard against oxidation and extends pavement life.
- Snow and Ice Management: Use a plastic shovel when possible and keep metal blades slightly raised to avoid gouging. Ice melt products that are safe for asphalt are recommended; avoid corrosive chemicals that can damage the surface or nearby landscaping.
- Edge Care and Landscaping: Avoid driving off the edges of the driveway—unsupported edges are most vulnerable. When adding topsoil or mulch alongside the driveway, keep the grade slightly below the asphalt to maintain drainage and protect edges.
What a Smooth Project Timeline Looks Like
Every home and site is different, but a clear sequence with your residential asphalt paving contractor helps you plan:
- Day 1: Site visit and estimate discussion, including design, drainage, and material options.
- Days 2–3: Scheduling and utility checks (as needed). Your contractor confirms start dates and weather contingencies.
- Day 4: Demolition and excavation (or milling if resurfacing). Subgrade shaping and base installation begin.
- Day 5: Base compaction, fine grading, and drainage checks. Any edging or forms are set.
- Day 6: Asphalt installation, compaction, and finishing. Final quality review and cleanup.
- Days 7–9: Initial cure period; limited or no vehicle traffic as advised.
- Months 6–12: Consider first sealcoat when the pavement has fully cured.
Good communication with your residential asphalt paving contractor keeps this timeline flexible and realistic. In New England, weather can shift quickly—your contractor should be proactive about rescheduling to protect quality if temperatures or rain make conditions less than ideal.

How to Work With Your Contractor for the Best Results
A well-prepared homeowner helps the project run smoothly and protects the final product.
- Discuss Access: Plan where vehicles will park while the driveway is unavailable. If your driveway is the only access to the garage, relocate items you might need during the cure period.
- Confirm Edges and Transitions: Walk the perimeter with the residential asphalt paving contractor to confirm where edges will land, how they meet lawns or walks, and any desired flares or widenings.
- Talk Drainage: Ask how the new grade will move water away from structures and where runoff will go after storms.
- Plan for Deliveries and Lawn Care: Pause regular deliveries or lawn treatments during the work and cure window to avoid surface damage.
- Ask About Mix and Thickness: Understanding the recommended asphalt mix and lift thickness helps you compare estimates and ensures you’re getting a driveway built for longevity, not just appearance.
Throughout the process, a skilled residential asphalt paving contractor should explain each step, set expectations, and prioritize a clean, safe jobsite. That combination of clear communication and careful workmanship is what gives you a driveway that looks great on day one and stays strong over the years.
Contact Patriot Paving Today!
From the first site visit to the final roll of the compactor, you now know what to expect when you partner with us. Patriot Paving backs that process with hands-on experience, a clean jobsite ethic, and attentive communication—so your driveway or walkway is ready for every season. If you’re planning a new installation or replacement, call
(774) 386-8531 today to schedule your consultation with a trusted residential asphalt paving contractor in Worcester, MA, and get your project moving with confidence.